ModEdge Setup Tutorial
Hi, everybody!
This page contains some useful tips and tricks to get started with your ModEdge, so bookmark this page as a reference!
Warning!
Please do not leave your device sitting in an excessively hot environment for an extended period, e.g. the dashboard of your car on a hot day or outside in direct sunlight for hours — it could soften and possibly deform (though it will harden back up once it cools). This is one of the trade-offs of using a compostable polymer; it's extremely strong, but it’s not a “forever plastic” that’s impervious to nuclear armageddon.
Any Issues?
If you encounter a technical issue or defect, please reach out to Emile at products@hoopersbeta.com. We’ll work to resolve the issue as soon as possible.
Getting Started…
Here’s a video version if you prefer that over the text explanation below:
Video Timestamps
00:00 Intro
00:15 Swivel Bearing Installation
01:55 Initial ModEdge Adjustment
05:22 Initial Testing and Tuning
07:15 Notes About 3D Printed Devices
09:11 A Note About Personal Preference
10:20 Start Out Easy
10:57 What to Look for When Testing
11:32 Use the Markings
12:42 Thank You for Your Support!
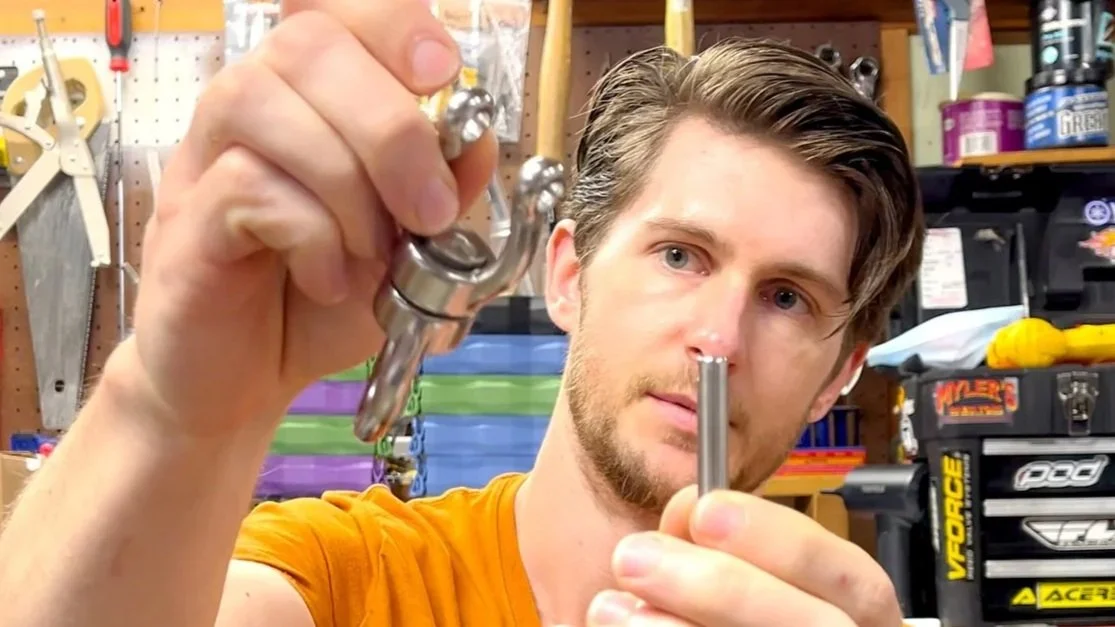
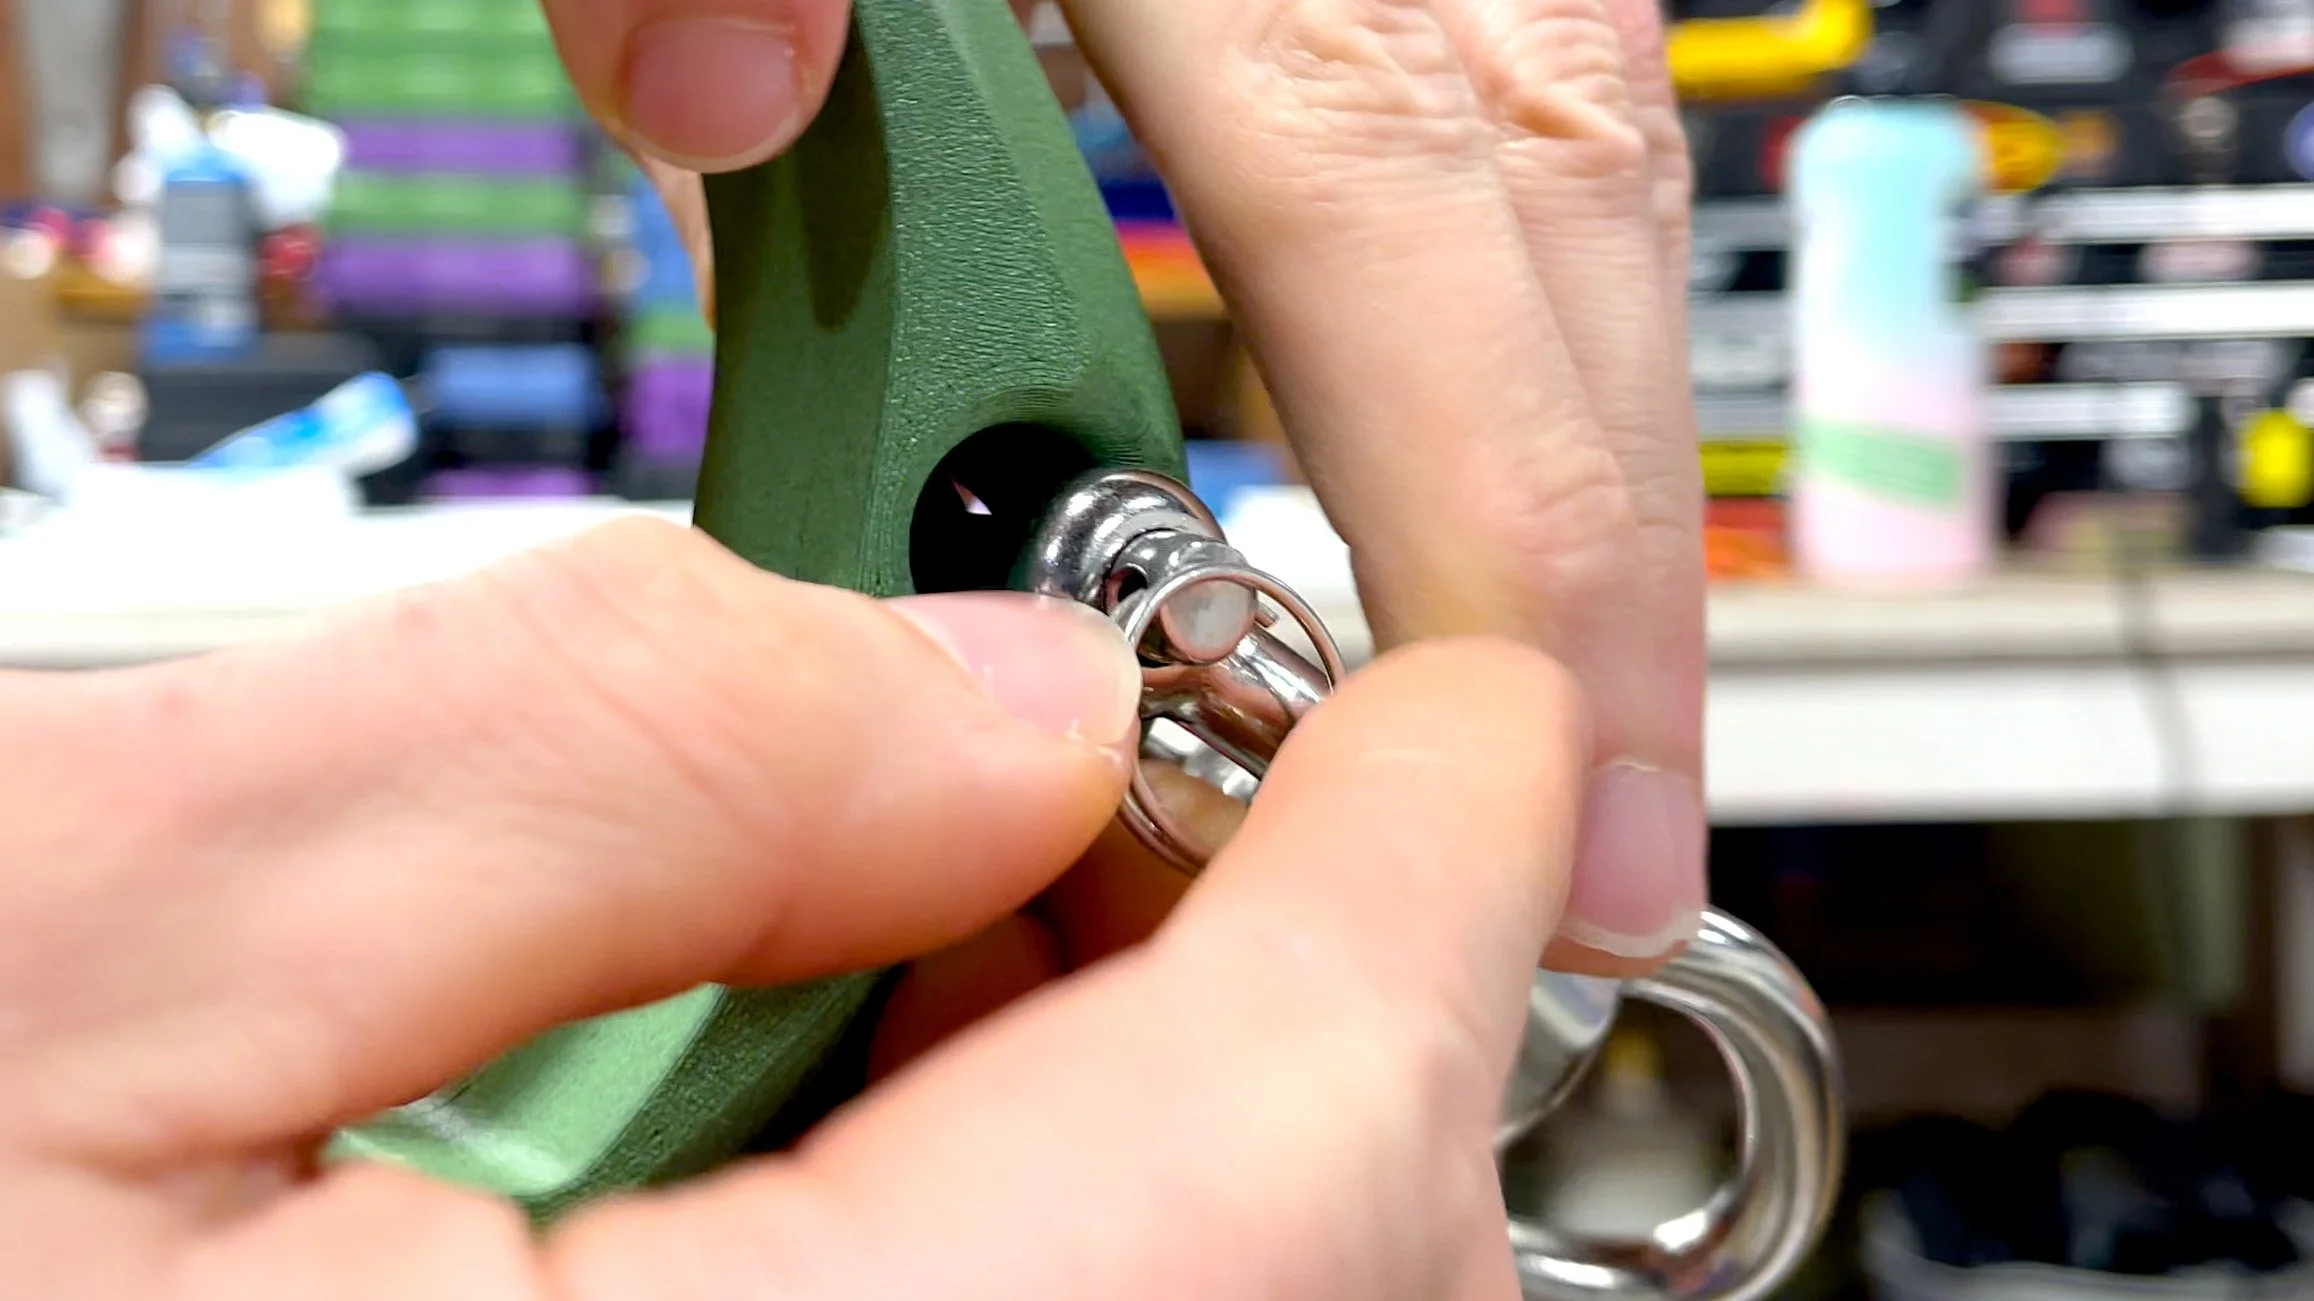
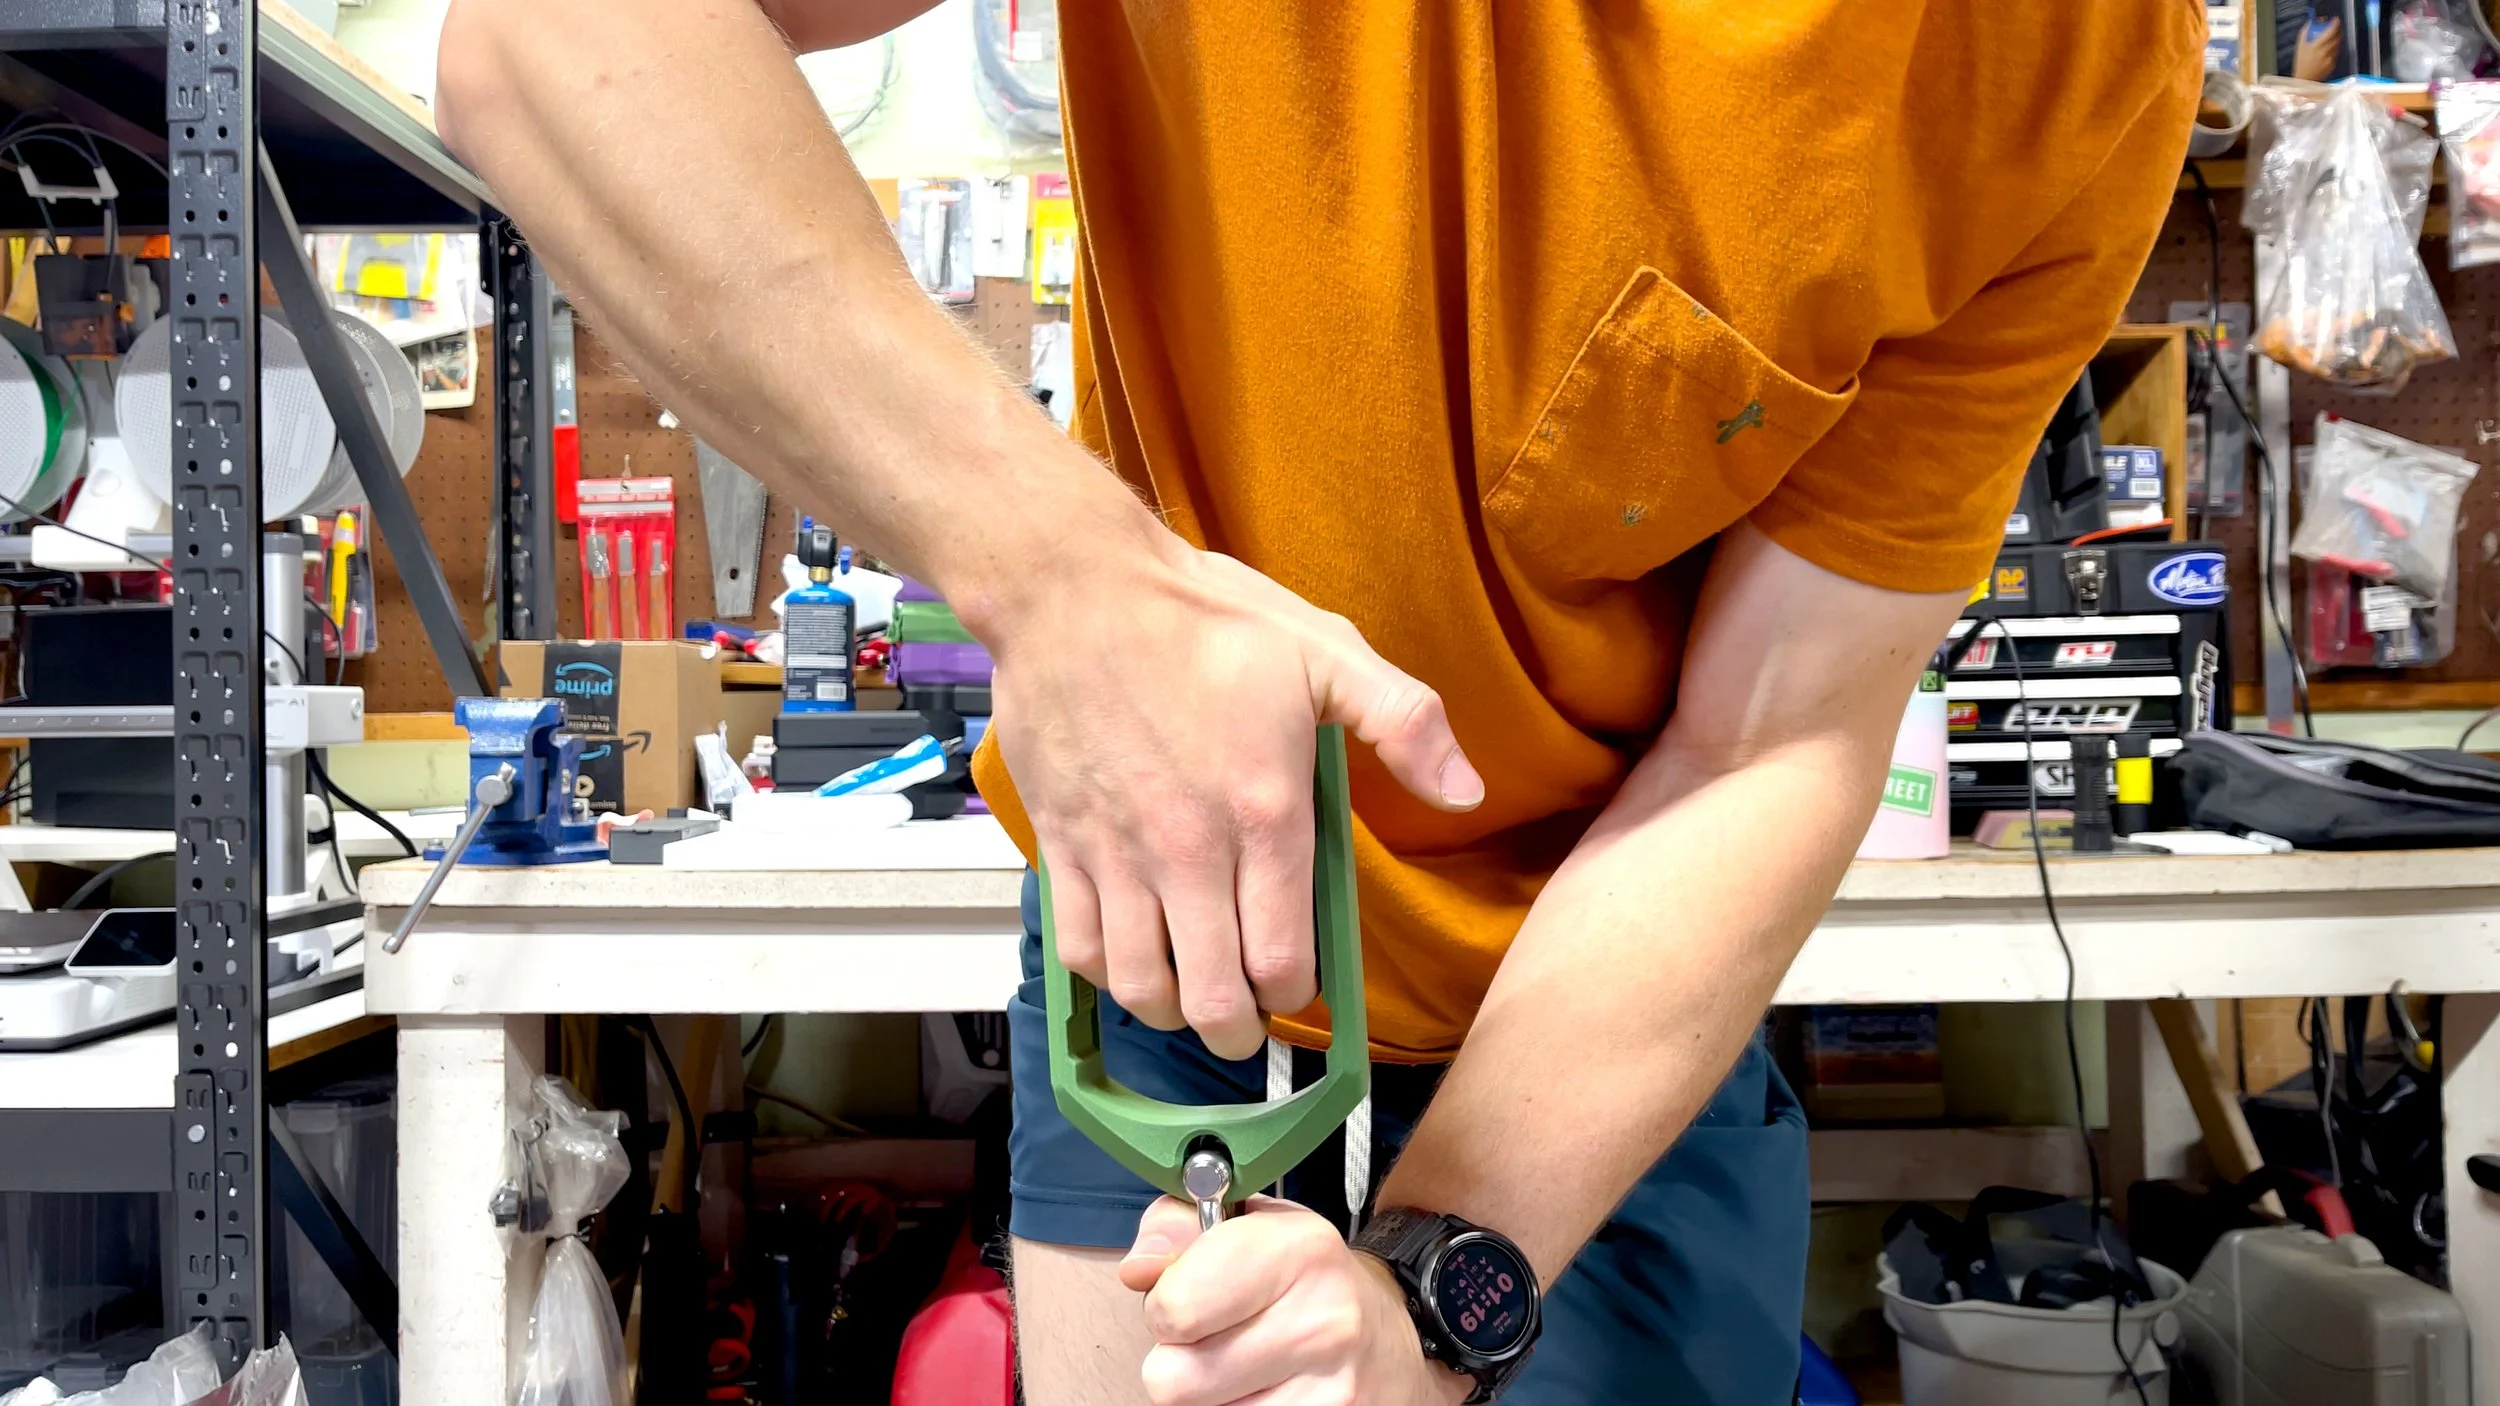
1) SWIVEL BEARING
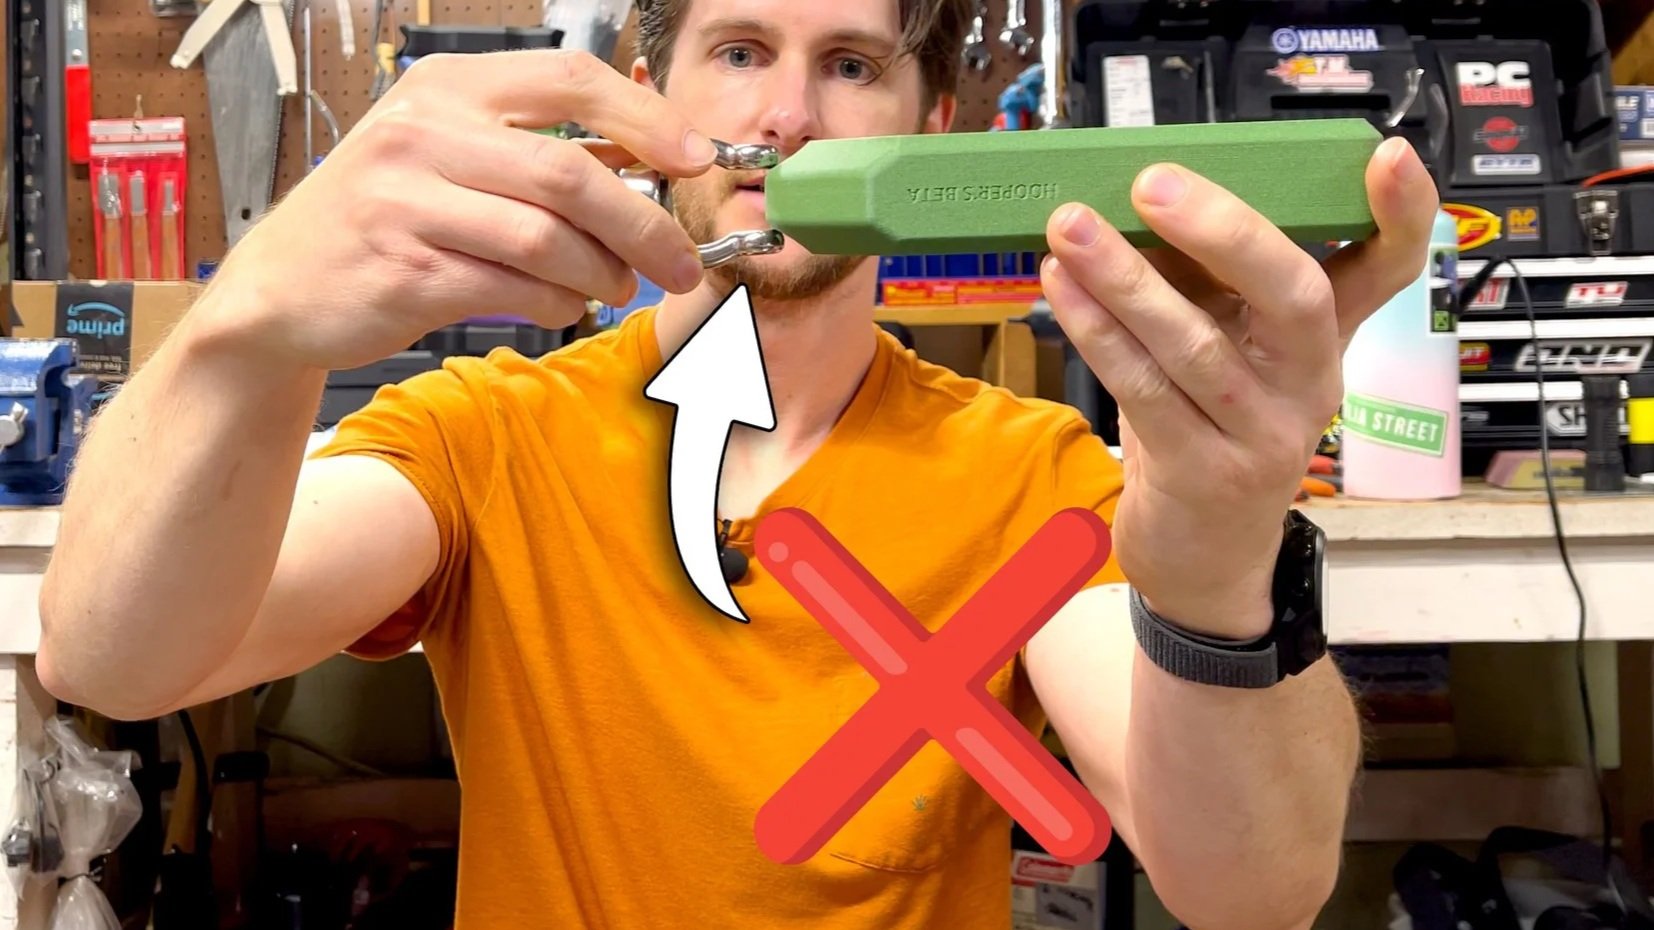
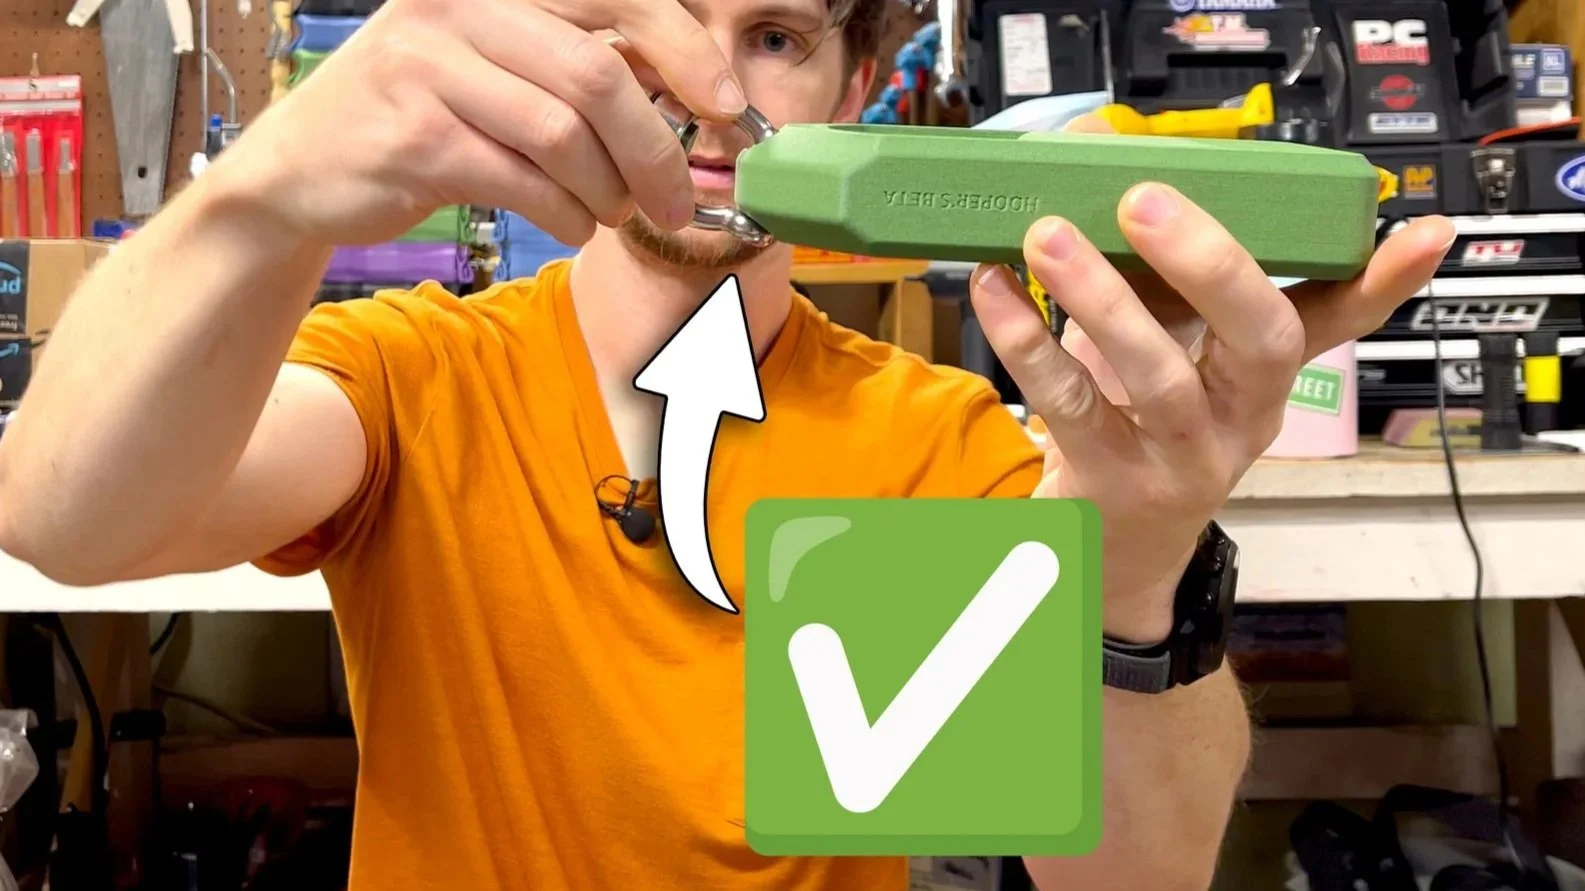
First thing’s first: let’s put on the swivel bearing. We designed this device so you can use it without the bearing if you prefer, though I’m not sure why you would want to.
The swivel bearing has two important functions: keeping the device relatively vertical when you pull on it (rather than tilting back like a sloper), and allowing you to switch hands instantly.
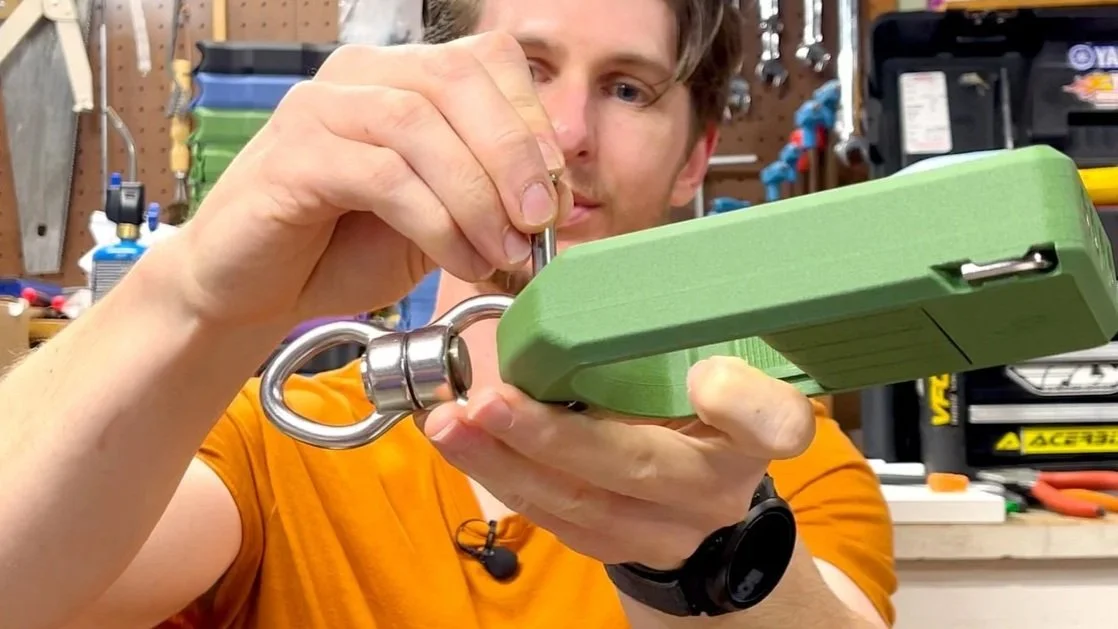
The pin for the swivel simply slots through the hole and into the arms (you may have to tilt the swivel slightly to get the arms over the ModEdge hole — if you try to put it straight on it will be much harder) and then the little retaining clip goes on to keep the pin in place.
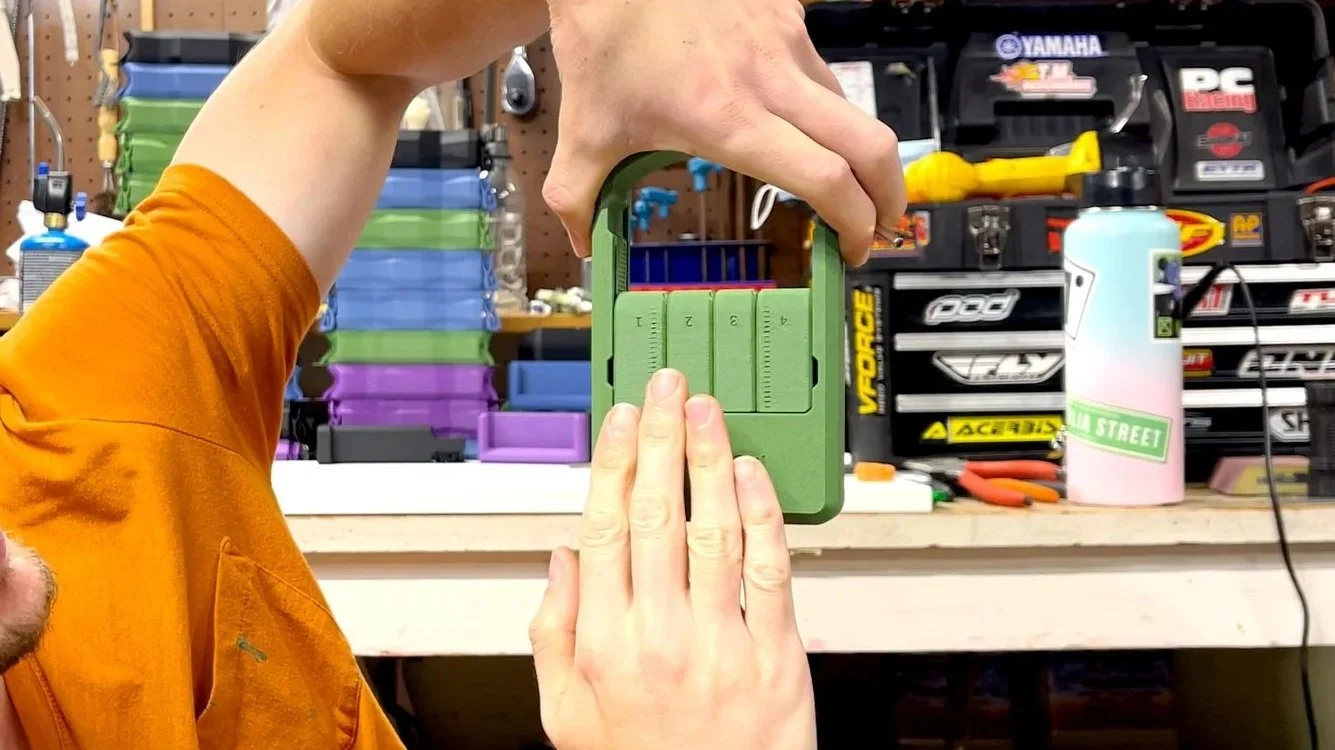
2) INITIAL ADJUSTMENT SHAPE
As far as initial adjustments go, if you don’t already have a shape in mind that you know you like, I like to start by eyeballing the shape of my fingers and adjusting the ModEdge so it looks like that shape.
Keep in mind this is just a rough starting point — the goal is to eventually find a shape that gives you the most comfort and feeling of engagement (it shouldn’t take long — you’ll notice quickly if something feels significantly ‘off’ during your reps).
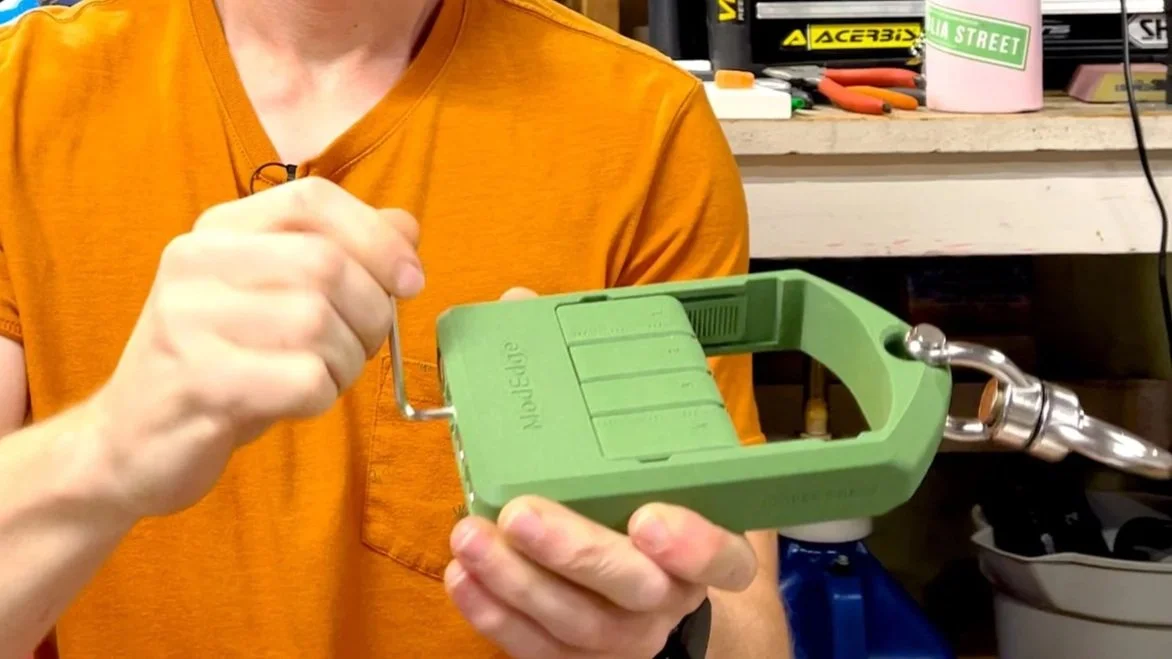
3) FINE THREADS
Because the threads on this are fairly fine, the first adjustment will probably take the longest because you have to do the most adjustment. While this is mildly annoying, it’s not too bad if you flip the hex wrench sideways and crank on the long end.
The upside of the fine threads is that when you get to the point of fine tuning, it’s a lot easer to make small adjustments.
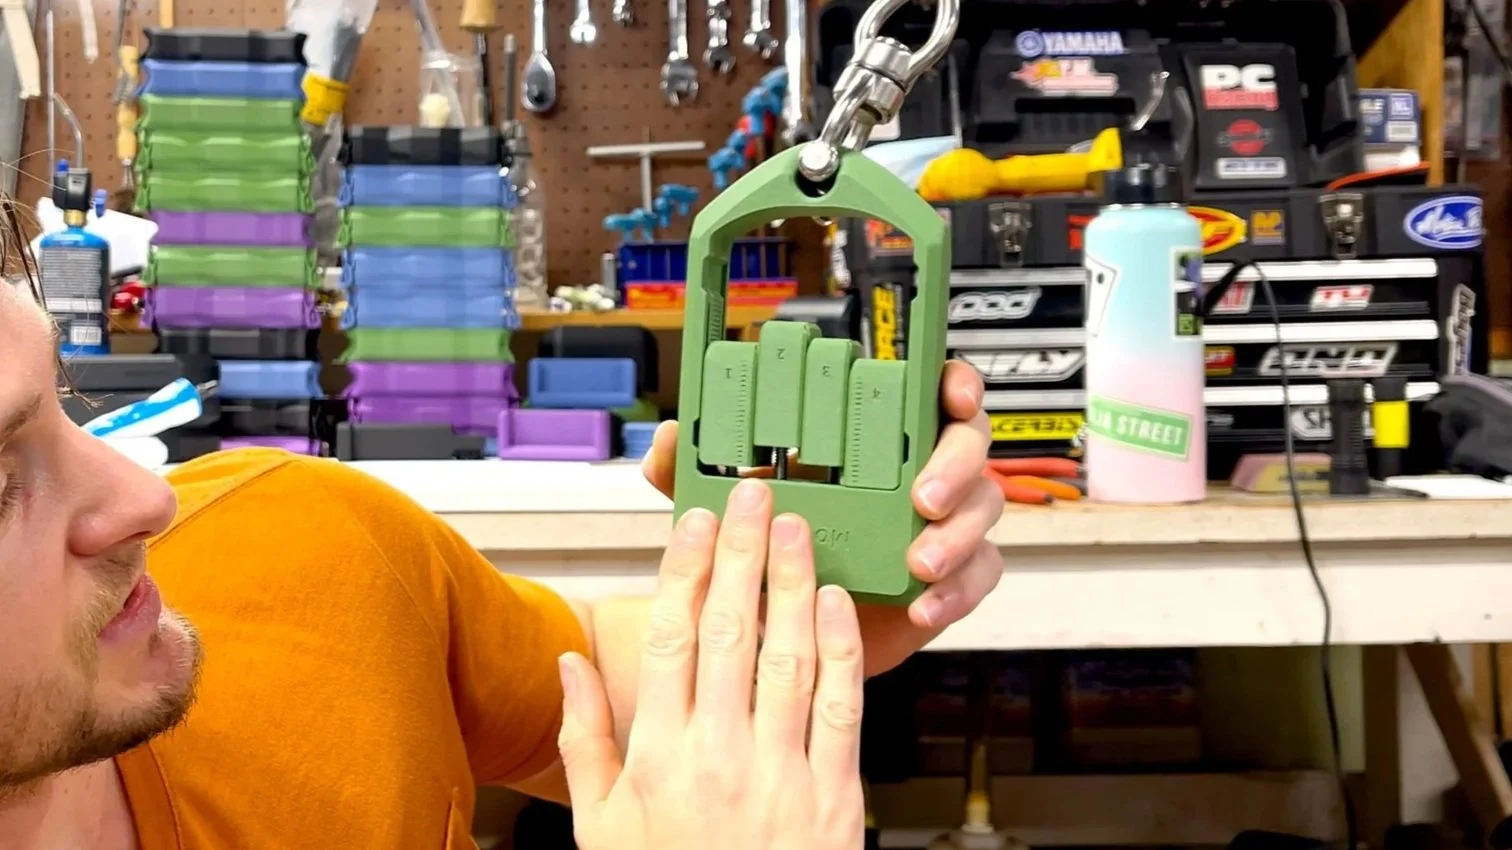
4) 3D PRINTING TOLERANCES
By the way, these devices are 3D printed and that is not a perfect process when it comes to tolerances in the parts. So, you might find that one finger is a little stiffer to adjust than another.
Don’t worry, that’s normal. It’s just an artifact of the manufacturing process, as I have to balance enough clearance to allow everything to move while keeping everything tight enough that it feels solid and doesn’t wiggle around.
5) MARKS / SCUFFS / IMPERFECTIONS
If you see any marks or anything on the device, don’t worry— it’s not used or anything. I assemble all of these devices by hand, and that process involves a lot of steps that currently takes over an hour in total.
Part of process involves cleaning up sharp or uneven edges from the printing process, which can leave some marks. The assembly process also involves some sanding and glue, which can leave some marks as well.
So yes, there will be some “surface imperfections” on the device. It’s a sign that it was hand assembled with love ;).
6) ADJUSTMENT PERSONAL PREFERENCES
Personal preference varies a LOT. For example, my preferred adjustment is fairly close to the shape of my fingers, which means the pinky is quite a bit shorter than the rest (in other words, the index, ring, and middle fingers on the ModEdge are extended much further than the pinky).
However, Jason likes a much milder difference between the fingers, even though our actual finger lengths are quite similar.
So don’t worry too much about trying to exactly mimic your finger anatomy or anything like that, because trying to do that doesn’t necessarily mean you’ll end up with an “optimal” edge (climbers just don’t have the data to know what’s optimal right now, unfortunately).

My preferred adjustment looks something like this

Jason’s preferred adjustment is much more conservative, looking more like this
7) FORGIVING
Luckily, I’ve found this entire process to be fairly forgiving as well. It’s not like the device will feel horrible unless you spend an hour making adjustments.
I’ve actually found multiple settings that I like, but over a few sessions I made some tweaks and found the most comfortable one yet, so I tend to stick with that.
8) START OUT EASY
Once you’ve got an initial setting, give it a try at sub-maximal weight. You’ll probably be able to feel pretty quickly if it feels good or not, but you can always keep a flat edge (or any edge, really) on hand for a quick comparison.
As with any new training device or protocol, I recommend you go easy for at least the first session or two. You don’t want to just rage on a new device, especially if you’re not used to varying height (“unlevel”) edges. This is not a training advice video, but I have to at least mention it.
9) PAY ATTENTION TO COMFORT AND ENGAGEMENT
I like to pay attention to the overall comfort in my fingers as well as their engagement on the edges.
For example, if my pinky feels like it’s overly extended and barely hanging on while the other fingers are nicely engaged, then I prefer to extend the other three a bit to allow my pinky to get into a better position.
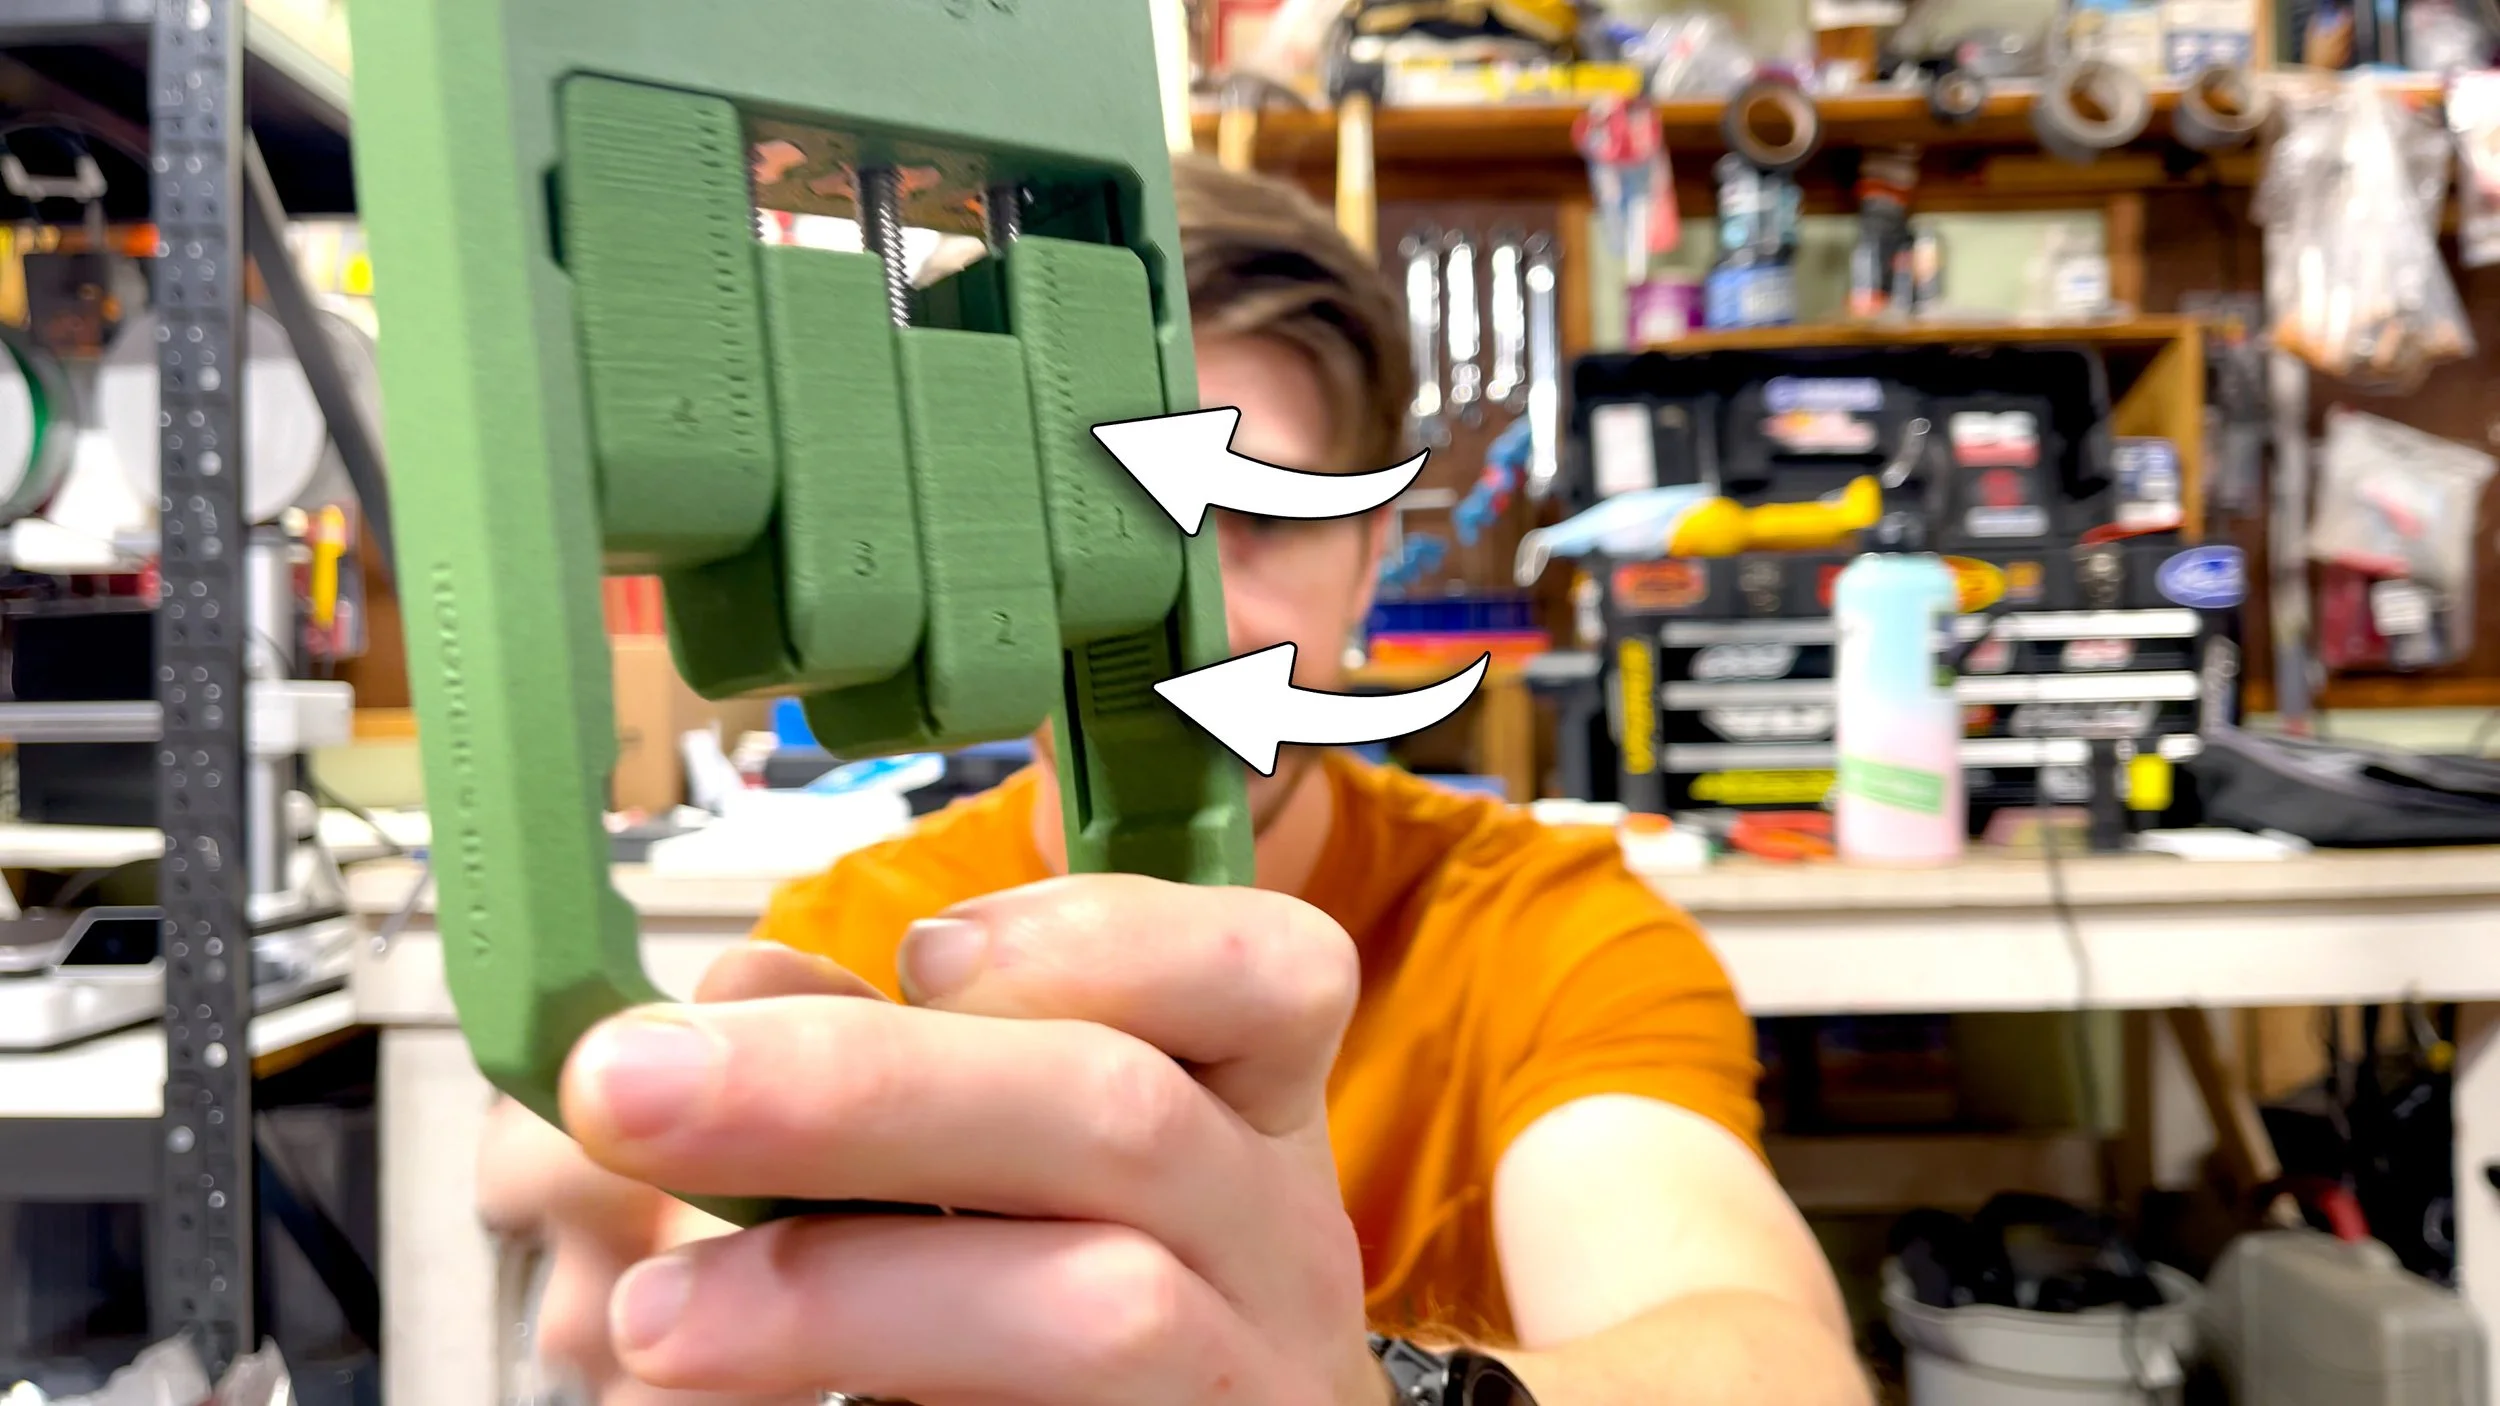
10) USE MARKINGS TO REMEMBER
If you want to try a different adjustment/setting but you don’t want to lose your current one, just use the markings on the inside wall of the device and on the index and pinky fingers to judge the position.
I like to write down how many marks from the top each finger box is at, and then I can easily go back to that setting later on if needed (or you could take a photo for reference, if you prefer).
In conclusion...
We're really excited about this new chapter of Hooper's Beta products, so thanks for joining us! Of course, since this is a new venture, we're still working some things out, so please bear with us if you encounter an issue. Email me directly at products@hoopersbeta.com if you need technical assistance :) Thanks for your understanding and psych!!